사용안하는 게시판/Android Project
첫 화면 MainActivity
Everyday Growing Engineer
2022. 8. 6. 15:41
초기 디자인 :

1. 전체 뷰는 ConstraintLayout 사용
2. 안드로이드 글꼴 :
한글 : NotoSans
영어 : ROBOTO
글꼴 적용 방법
더보기
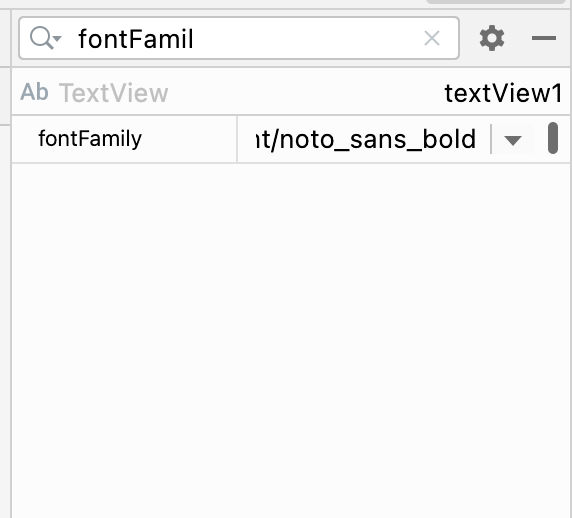
xml 파일에서 오른쪽 attribute에서 fontFamily 로 적용 가능. NotoSans 같은 경우 이미 있는 제공되는 font에 있어서 바로 적용가능. 새로 적용시 font라는 directory도 같이 생성
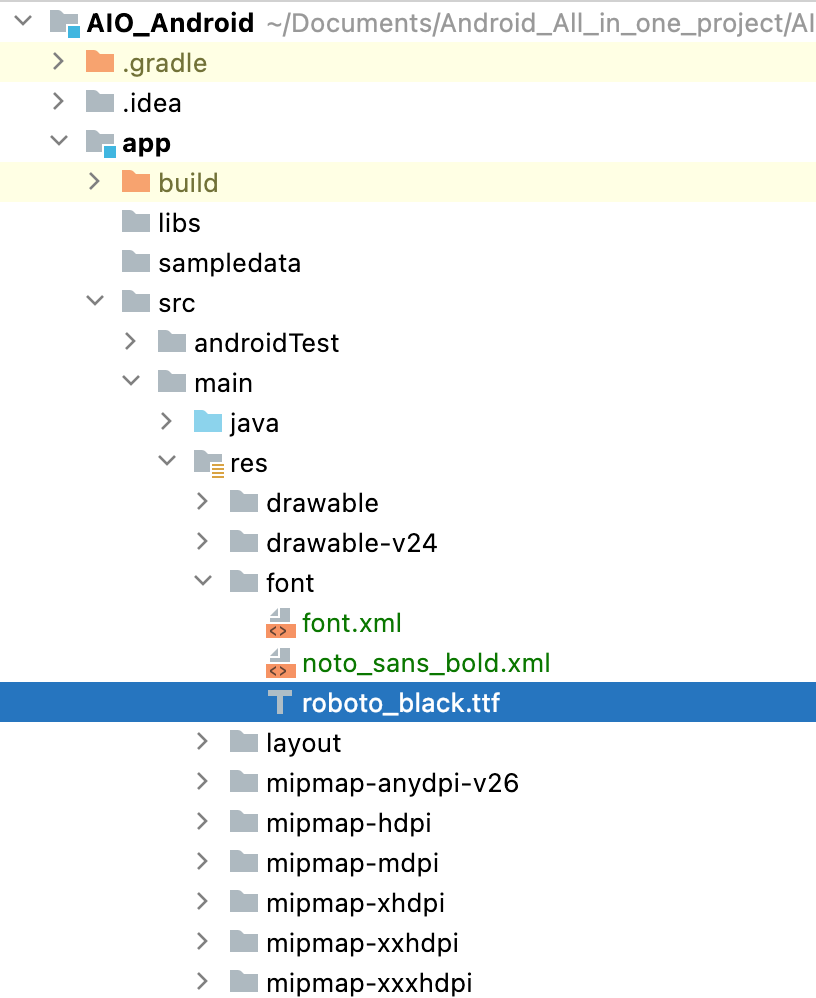
ROBOTO는 다운받아야 적용가능.
(1) font directory 가 없을시 res 우클릭 - New - Directory - font 입력
(2) font 폴더가 생성되고 그 아래에 ttf 파일을 복붙 합니다.
(3) TextView에 아래 같은 식으로 추가 가능 추가 -> 끝
android:fontFamily="@font/roboto_black"
3. Button 부분
Button 부분을 custom하게 해주기 위해서 LinearLayout 적용
background :
- 큰 background는 rectangle이고 작은 background는 oval 적용
rectangle_border.xml
<?xml version="1.0" encoding="utf-8"?>
<shape xmlns:android="http://schemas.android.com/apk/res/android"
       android:shape="rectangle" >
    <solid android:color="#FFFFFFFF" />
    <corners
            android:radius="20dp"/>
    <stroke
            android:width="1dp"
            android:color="@color/black" />
</shape>
버튼 안에 그림의 background : round_border.xml
<?xml version="1.0" encoding="utf-8"?>
<shape xmlns:android="http://schemas.android.com/apk/res/android"
       android:shape="oval" >
    <solid android:color="#FFFFFFFF" />
    <corners
            android:radius="10dp"/>
    <stroke
            android:width="1dp"
            android:color="@color/black" />
</shape>